


ขั้นตอนที่1 เปิดไฟล์ภาพที่ต้องการขึ้นมา
Copy Layer Background ขึ้นมาอีก 1 Layer โดยไปที่ Layer>Duplicate Layer จะได้ Background Copy ดังภาพ
ขั้นตอนที่ 2 ทำงานที่ Layer Background copy โดยเปลี่ยนโหมดภาพจาก Normal เป็น Screen ดังรูป
ขั้นตอนที่ 3 ยังคงทำงานที่ Layer Background copy อยู่ ไปที่ Filter>Blur>Gaussian Blur ปรับความเบลอตามที่ต้องการ แล้วคลิก ok.
ภาพนี้เลือกประมาณ 5.0
* หากภาพสว่างหรือมืดเกินไปเราสามารถลด Opacity เพื่อให้ได้ภาพที่พอดี หรือปรับ Levels ของภาพเพิ่มได้ตามที่ต้องการ *
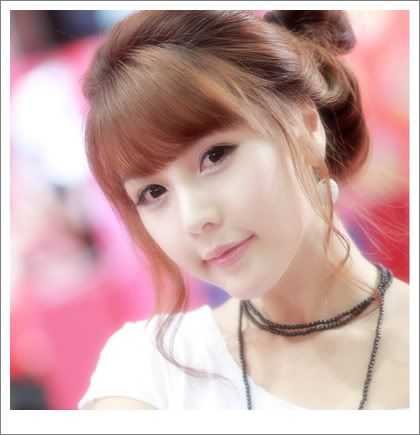
ขั้นตอนสุดท้าย รวม Layer ภาพเข้าด้วยกัน ไปที่ Layer>Flatten Image แล้วก็ Save เป็นอันจบงาน

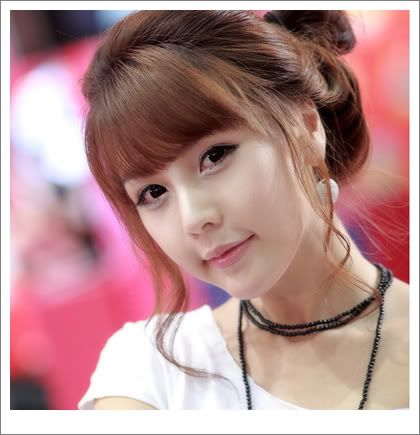
ภาพที่ปรับแต่งเรียบร้อยกลับสวยแจ่มกว่าเป็นไหน ๆ


One Response to "เทคนิคการทำภาพซอฟท์ชวนฝัน"